
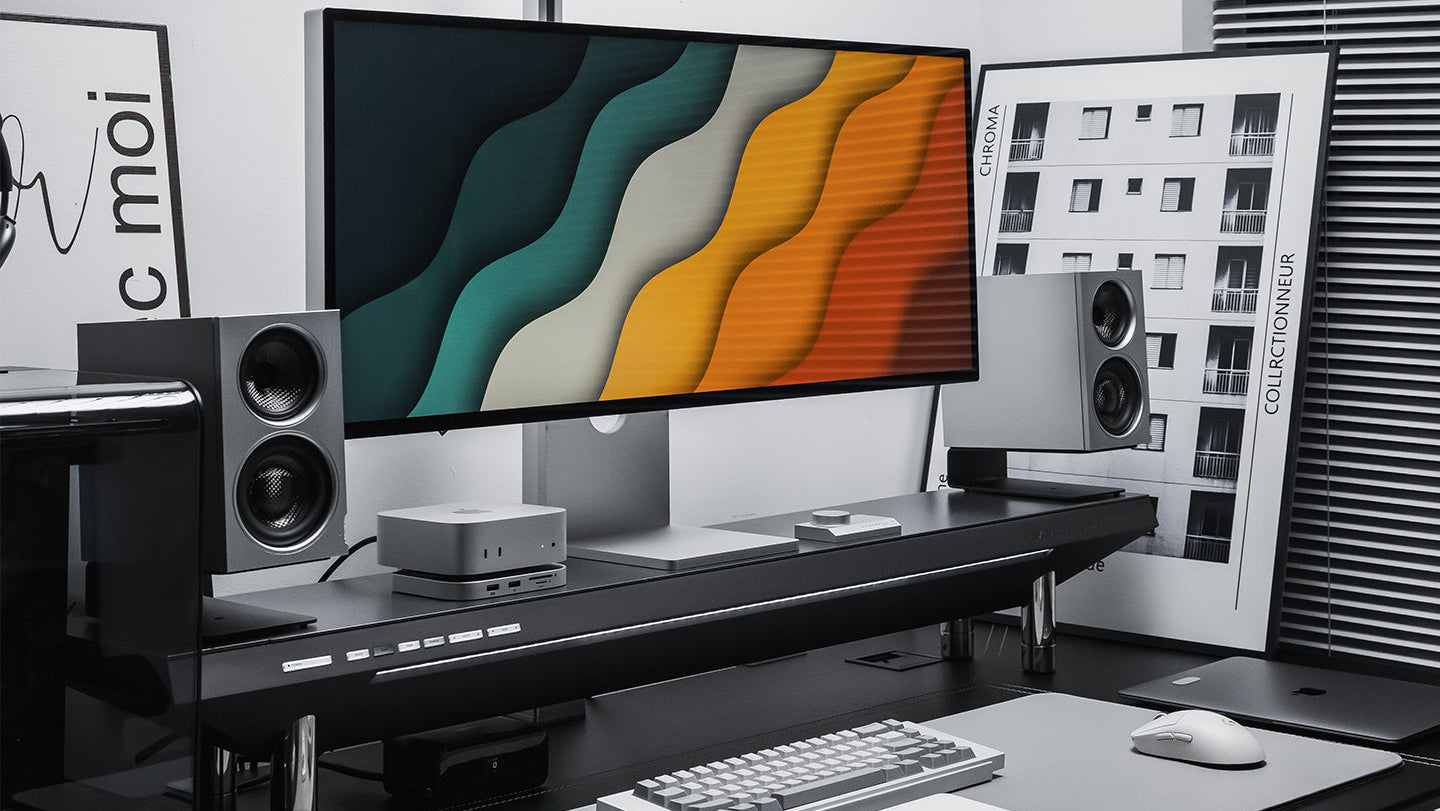
By SOVOX Engineering · Published August 18, 2026 · Updated August 24, 2026 · Technical details checked August 24, 2026
The short answer
For a small stereo monitor setup, start with left-right symmetry, equal listening distance, roughly a 60° angle between the speakers, and the acoustic axis near ear height. Then deal with the two surfaces that usually cause the largest desktop problems: the wall behind the speakers and the desk below them.
Do not assume that moving a speaker a little farther from the wall is always better. An intermediate wall distance can place a strong cancellation inside the woofer's operating range. In many small rooms, placing a monitor relatively close to the front wall and then compensating the broad bass lift can work better than leaving an arbitrary gap. The exact result depends on the speaker, room and listening position.
Scope and disclosure
This guide covers compact nearfield monitors on desks, shelves or short stands. It explains placement principles rather than prescribing one distance for every room. The most reliable final step is measurement at the listening position, because room modes and reflections depend on your actual geometry.
Disclosure: SOVOX publishes this article and manufactures the MiniMax3 Monitor, which includes placement presets. General placement advice is separated from product-specific controls, and an independent placement reference from Genelec is linked below.

1. Get the stereo geometry right first
Place the left and right speakers at equal distance from the listening position and keep the setup symmetrical relative to the side walls where possible. A common starting point is an approximately equilateral triangle: the angle between the left and right speakers as seen from the listener is about 60°, with each speaker aimed toward the listening position.
Place the manufacturer's acoustic axis close to ear height. If the speakers sit below that height, raising them or using a modest upward tilt can reduce the severity of the nearest desk reflection and keep the listener inside the intended vertical window.
Symmetry matters because stereo imaging depends on the left and right channels encountering similar reflection paths. A mathematically perfect triangle in an asymmetric corner can image worse than a slightly adjusted triangle in a more symmetric part of the room.
2. Understand the wall-behind-speaker cancellation
At low frequencies, sound radiates around the enclosure and reaches the wall behind the speaker. The reflected wave returns with a delay. At frequencies where the reflected and direct waves arrive substantially out of phase, they partially cancel. This is often called speaker-boundary interference response (SBIR).
The important consequence is counterintuitive: a moderate gap is not automatically safer than a small gap. Changing the distance moves the cancellation frequencies. Genelec's monitor-placement guidance notes that placing a monitor close to the wall can move the first cancellation high enough that the loudspeaker has already become more forward-directing, while the resulting broad low-frequency boost can be compensated separately.
At the other extreme, moving the monitor far enough into the room can move the cancellation below the speaker's useful low-frequency range and improve the direct-to-reflected ratio. What often performs poorly is an arbitrary middle distance chosen only because it “looks away from the wall.”
Reference: Genelec — How to place your monitors
3. The desk reflection is a different problem
The desk creates a short reflected path from the speaker to the work surface and then to your ears. The direct and reflected signals combine, producing frequency-dependent peaks and dips. The exact frequencies depend on speaker height, listener distance, desk depth and reflection point; there is no universal “desk cancellation frequency.”
This is why a deep reflection null is difficult to repair with ordinary EQ. If you boost the loudspeaker at that frequency, you also increase the reflected component that participates in the cancellation.
Useful physical changes include raising the speakers, changing their vertical angle, reducing the size of the hard reflection area, moving the speakers toward the front edge of the desk, or using stands that change the reflection geometry. The goal is not to remove every reflection, but to avoid one strong early reflection creating a large spectral feature at the listening position.
4. Use boundary controls for broad tonal balance
Placement switches, shelving filters and room-compensation systems are most useful for broad response changes: for example, the low-frequency gain that occurs when a speaker radiates close to a solid wall.
They are not equivalent to moving the speaker, and a simple preset cannot correct every room mode or SBIR null. A sensible workflow is to use the preset that best describes the physical placement, then verify the result by listening and, ideally, measuring.
MiniMax3 placement modes: what they mean
The SOVOX MiniMax3 Monitor provides four rear-panel SOUND MODE presets:
| Mode | Starting use case |
|---|---|
Free |
Speaker is relatively free of nearby desk/wall boundary loading |
Desk |
Speaker is used directly on or very close to a desk surface |
Wall |
Speaker is close to the wall behind it |
Desk & Wall |
Both desk and rear-wall boundary conditions apply |
Desk & Wall is not a “corner mode.” It is intended for the common combination of a work surface below and wall behind. Whether it is the best final setting still depends on the measured/listened result in your room.
Separate TREBLE TILT (+2 / 0 / −2 dB) and BASS ROLL-OFF (−4 / −2 / 0 dB / Dyn) controls provide additional broad adjustment. Start with the placement mode; use the other controls only after the physical geometry is established.

5. A practical setup order
- Choose the listening position. Avoid obvious left-right asymmetry and, where possible, avoid sitting directly against a wall.
- Build the stereo triangle. Keep left/right distances equal and aim the acoustic axes toward the listener.
- Set height and tilt. Keep the acoustic axis near ear height and minimize a strong desk bounce.
- Choose the wall-distance strategy. In a small room, try a relatively close-wall position rather than automatically leaving a medium gap. Respect any ventilation or rear-port clearance required by the manufacturer.
- Match the placement preset to reality. If the monitor has desk/wall compensation, choose the closest physical condition.
- Measure or sweep if possible. A basic measurement microphone can reveal a broad boundary lift, a sharp cancellation or a room-mode peak that listening alone may misdiagnose.
- Make one change at a time. Move the speakers/listener before trying to boost a deep null with EQ.
6. What MiniMax3's compact cabinet changes
MiniMax3 measures 195 × 110 × 200 mm (H × W × D) and uses a concealed passive radiator rather than a rear bass-reflex port. That removes a rear-port clearance requirement, although cable access, ventilation and stable support still need space.
The coaxial midrange-tweeter can also make the upper crossover radiation more symmetrical than a conventional vertically separated midrange/tweeter pair. That can widen the usable vertical listening window, but it does not make speaker height irrelevant; the acoustic axis should still be aimed appropriately and the desk reflection still exists.
Published free-field response is 49 Hz–20 kHz (−3 dB) and 46 Hz–20 kHz (−6 dB). Maximum output is specified as 97 dB short-term at 1 m over 100 Hz–6 kHz and 95 dB long-term under the stated IEC 60268-5 condition.

7. Measure the result, not the intention
A preset labelled “Wall” tells you what the designer intended the filter to address. It does not prove the room is now flat. The final response is the interaction of the loudspeaker, desk, walls, room modes and listening position.
SOVOX publishes Klippel NFS measurements for the MiniMax3 placement-control responses on the product page. For the loudspeaker's independent free-field performance, Erin's Audio Corner provides a separate Klippel NFS measurement set. Room-specific placement still needs to be evaluated in the room.
Frequently asked questions
How far should studio monitors be from the wall?
There is no universal distance. For many compact monitors, a relatively close-wall position can be preferable to an arbitrary intermediate gap because it moves the first rear-wall cancellation upward; the accompanying bass lift can then be reduced with boundary controls. Always follow the specific manufacturer's clearance requirements.
Should small monitors form an equilateral triangle?
It is a strong starting point: equal speaker/listener distances and about a 60° included angle. Room symmetry and reflection paths can justify small adjustments.
Can I put studio monitors directly on a desk?
Yes, but the desk creates an early reflection and can change the low-mid response. Raising/tilting the monitors and using desk compensation where available can help.
Can EQ fix a deep desk or wall cancellation?
Usually not cleanly. A cancellation is created by direct and reflected signals interfering; boosting the source also boosts the reflected component. Placement or treatment is normally the first tool.
Should I use MiniMax3's Desk & Wall mode?
Use it as the starting preset when both a desk surface and nearby wall are part of the placement. Then verify with familiar material or measurement rather than assuming the label guarantees the best response.
Sources and editorial notes
- Genelec — How to place your monitors
- Genelec Support — back-wall cancellation
- SOVOX MiniMax3 Monitor — specifications and placement-control measurements
- Erin's Audio Corner — independent MiniMax3 measurements
Editorial policy: SOVOX manufactures the MiniMax3 Monitor. General placement recommendations are separated from product-specific presets, and the article explicitly distinguishes broad boundary compensation from reflection cancellations that require physical placement or acoustic treatment.
MiniMax3 product-specific values were checked against the current SOVOX product page on August 24, 2026.
Share:
Two-Way vs Three-Way Studio Monitors: What Actually Changes